Build your first Dagster pipeline
Welcome to Dagster! In this guide, we'll cover:
- Setting up a basic Dagster project
- Creating a single Dagster asset that encapsulates the entire Extract, Transform, and Load (ETL) process
- Using Dagster's UI to monitor and execute your pipeline
- Python 3.9+
- If using
uvas your package manager, you will need to installuv(Recommended). - If using
pipas your package manager, you will need to install thecreate-dagsterCLI with Homebrew,curl, orpip.
For detailed instructions, see the Installation guide.
Step 1: Scaffold a new Dagster project
- uv
- pip
-
Open your terminal and scaffold a new Dagster project:
uvx create-dagster@latest project dagster-quickstart -
Respond
yto the prompt to runuv syncafter scaffolding
-
Change to the
dagster-quickstartdirectory:cd dagster-quickstart -
Activate the virtual environment:
- MacOS/Unix
- Windows
source .venv/bin/activate.venv\Scripts\activate -
Install the required dependencies in the virtual environment:
uv add pandas
-
Open your terminal and scaffold a new Dagster project:
create-dagster project dagster-quickstart -
Change to the
dagster-quickstartdirectory:cd dagster-quickstart -
Create and activate a virtual environment:
- MacOS/Unix
- Windows
python -m venv .venvsource .venv/bin/activatepython -m venv .venv.venv\Scripts\activate -
Install the required dependencies:
pip install pandas -
Install your project as an editable package:
pip install --editable .
Your new Dagster project should have the following structure:
- uv
- pip
.
└── dagster-quickstart
   ├── pyproject.toml
   ├── src
   │   └── dagster_quickstart
   │       ├── __init__.py
   │       ├── definitions.py
   │       └── defs
   │           └── __init__.py
   ├── tests
   │   └── __init__.py
   └── uv.lock
.
└── dagster-quickstart
   ├── pyproject.toml
   ├── src
   │   └── dagster_quickstart
   │       ├── __init__.py
   │       ├── definitions.py
   │       └── defs
   │           └── __init__.py
   └── tests
      └── __init__.py
Step 2: Scaffold an assets file
Use the dg scaffold defs command to generate an assets file on the command line:
dg scaffold defs dagster.asset assets.py
This will add a new file assets.py to the defs directory:
src
└── dagster_quickstart
   ├── __init__.py
   └── defs
      ├── __init__.py
      └── assets.py
Step 3: Add data
Next, create a sample_data.csv file. This file will act as the data source for your Dagster pipeline:
mkdir src/dagster_quickstart/defs/data && touch src/dagster_quickstart/defs/data/sample_data.csv
In your preferred editor, copy the following data into this file:
id,name,age,city
1,Alice,28,New York
2,Bob,35,San Francisco
3,Charlie,42,Chicago
4,Diana,31,Los Angeles
Step 4: Define the asset
To define the assets for the ETL pipeline, open src/dagster_quickstart/defs/assets.py file in your preferred editor and copy in the following code:
import pandas as pd

import dagster as dg

sample_data_file = "src/dagster_quickstart/defs/data/sample_data.csv"
processed_data_file = "src/dagster_quickstart/defs/data/processed_data.csv"


@dg.asset
def processed_data():
    ## Read data from the CSV
    df = pd.read_csv(sample_data_file)

    ## Add an age_group column based on the value of age
    df["age_group"] = pd.cut(
        df["age"], bins=[0, 30, 40, 100], labels=["Young", "Middle", "Senior"]
    )

    ## Save processed data
    df.to_csv(processed_data_file, index=False)
    return "Data loaded successfully"
At this point, you can list the Dagster definitions in your project with dg list defs. You should see the asset you just created:
dg list defs
┏━━━━━━━━━┳━━━━━━━━━━━━━━━━━━━━━━━━━━━━━━━━━━━━━━━━━━━━━━━━━━━━━━━━━━━┓
�┃ Section ┃ Definitions ┃
┡━━━━━━━━━╇━━━━━━━━━━━━━━━━━━━━━━━━━━━━━━━━━━━━━━━━━━━━━━━━━━━━━━━━━━━┩
│ Assets │ ┏━━━━━━━━━━━━━━━━┳━━━━━━━━━┳━━━━━━┳━━━━━━━┳━━━━━━━━━━━━━┓ │
│ │ ┃ Key ┃ Group ┃ Deps ┃ Kinds ┃ Description ┃ │
│ │ ┡━━━━━━━━━━━━━━━━╇━━━━━━━━━╇━━━━━━╇━━━━━━━╇━━━━━━━━━━━━━┩ │
│ │ │ processed_data │ default │ │ │ │ │
│ │ └────────────────┴─────────┴──────┴───────┴─────────────┘ │
└─────────┴───────────────────────────────────────────────────────────┘
You can also load and validate your Dagster definitions with dg check defs:
dg check defs
All component YAML validated successfully.
All definitions loaded successfully.
Step 5: Run the pipeline
-
In the terminal, navigate to your project's root directory and run:
dg dev -
Open your web browser and navigate to http://localhost:3000, where you should see the Dagster UI:
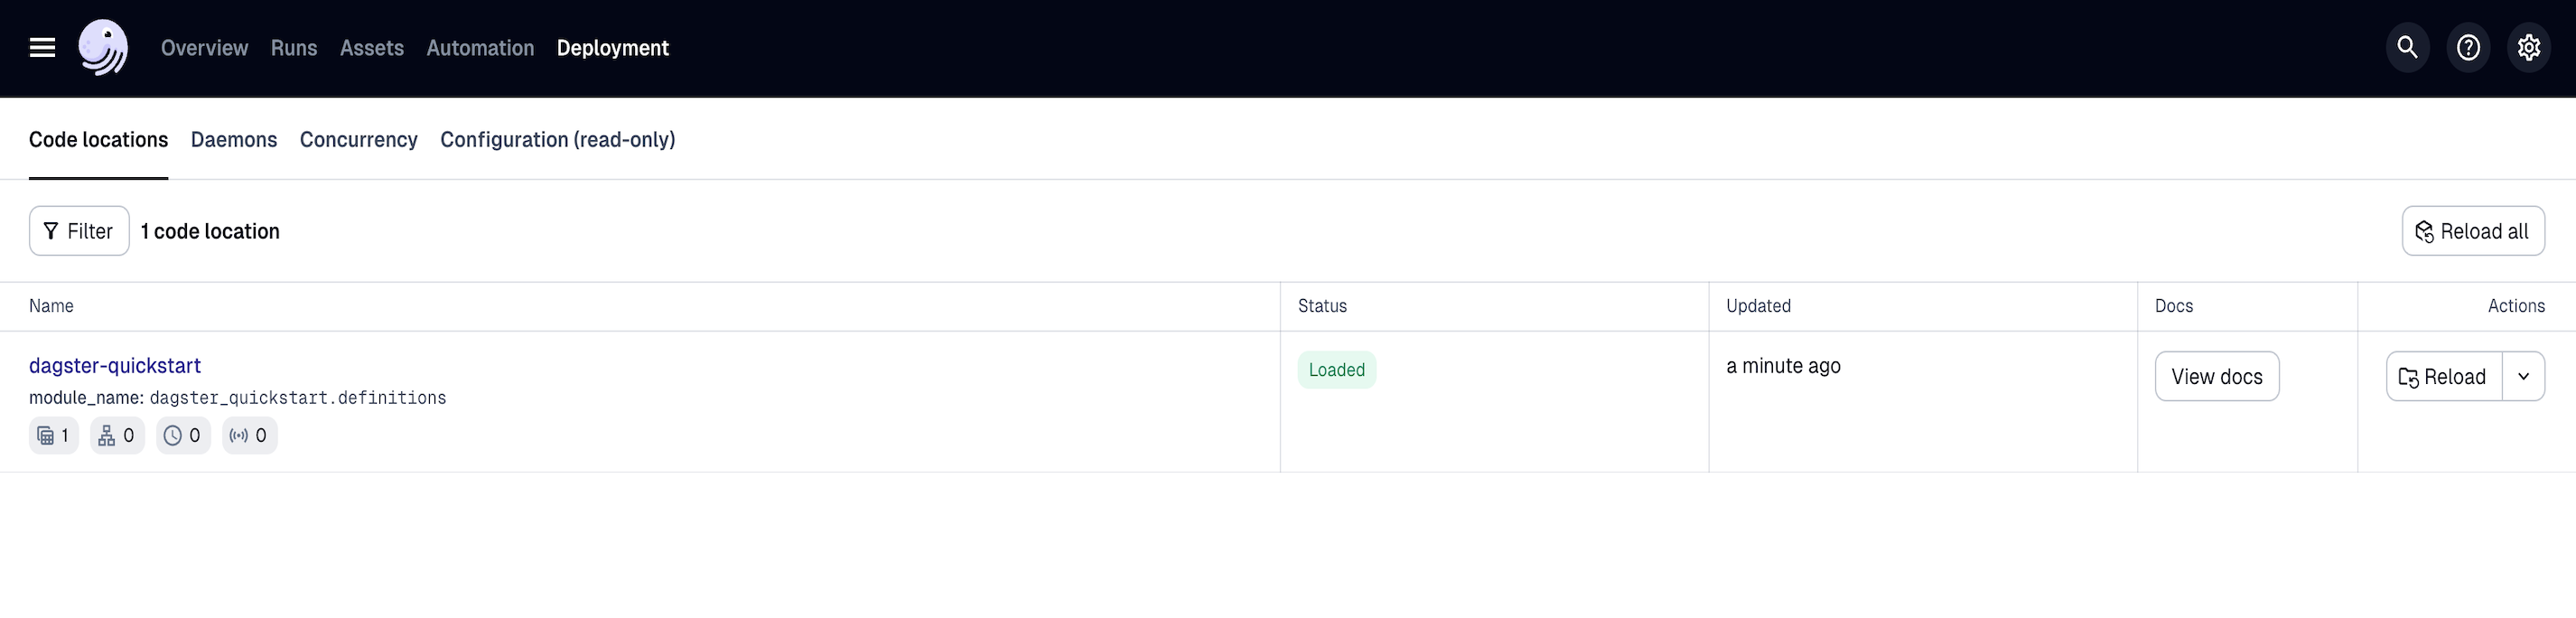
-
In the top navigation, click Assets > View lineage.
-
Click Materialize to run the pipeline.
-
In the popup, click View. This will open the Run details page, allowing you to view the run as it executes.
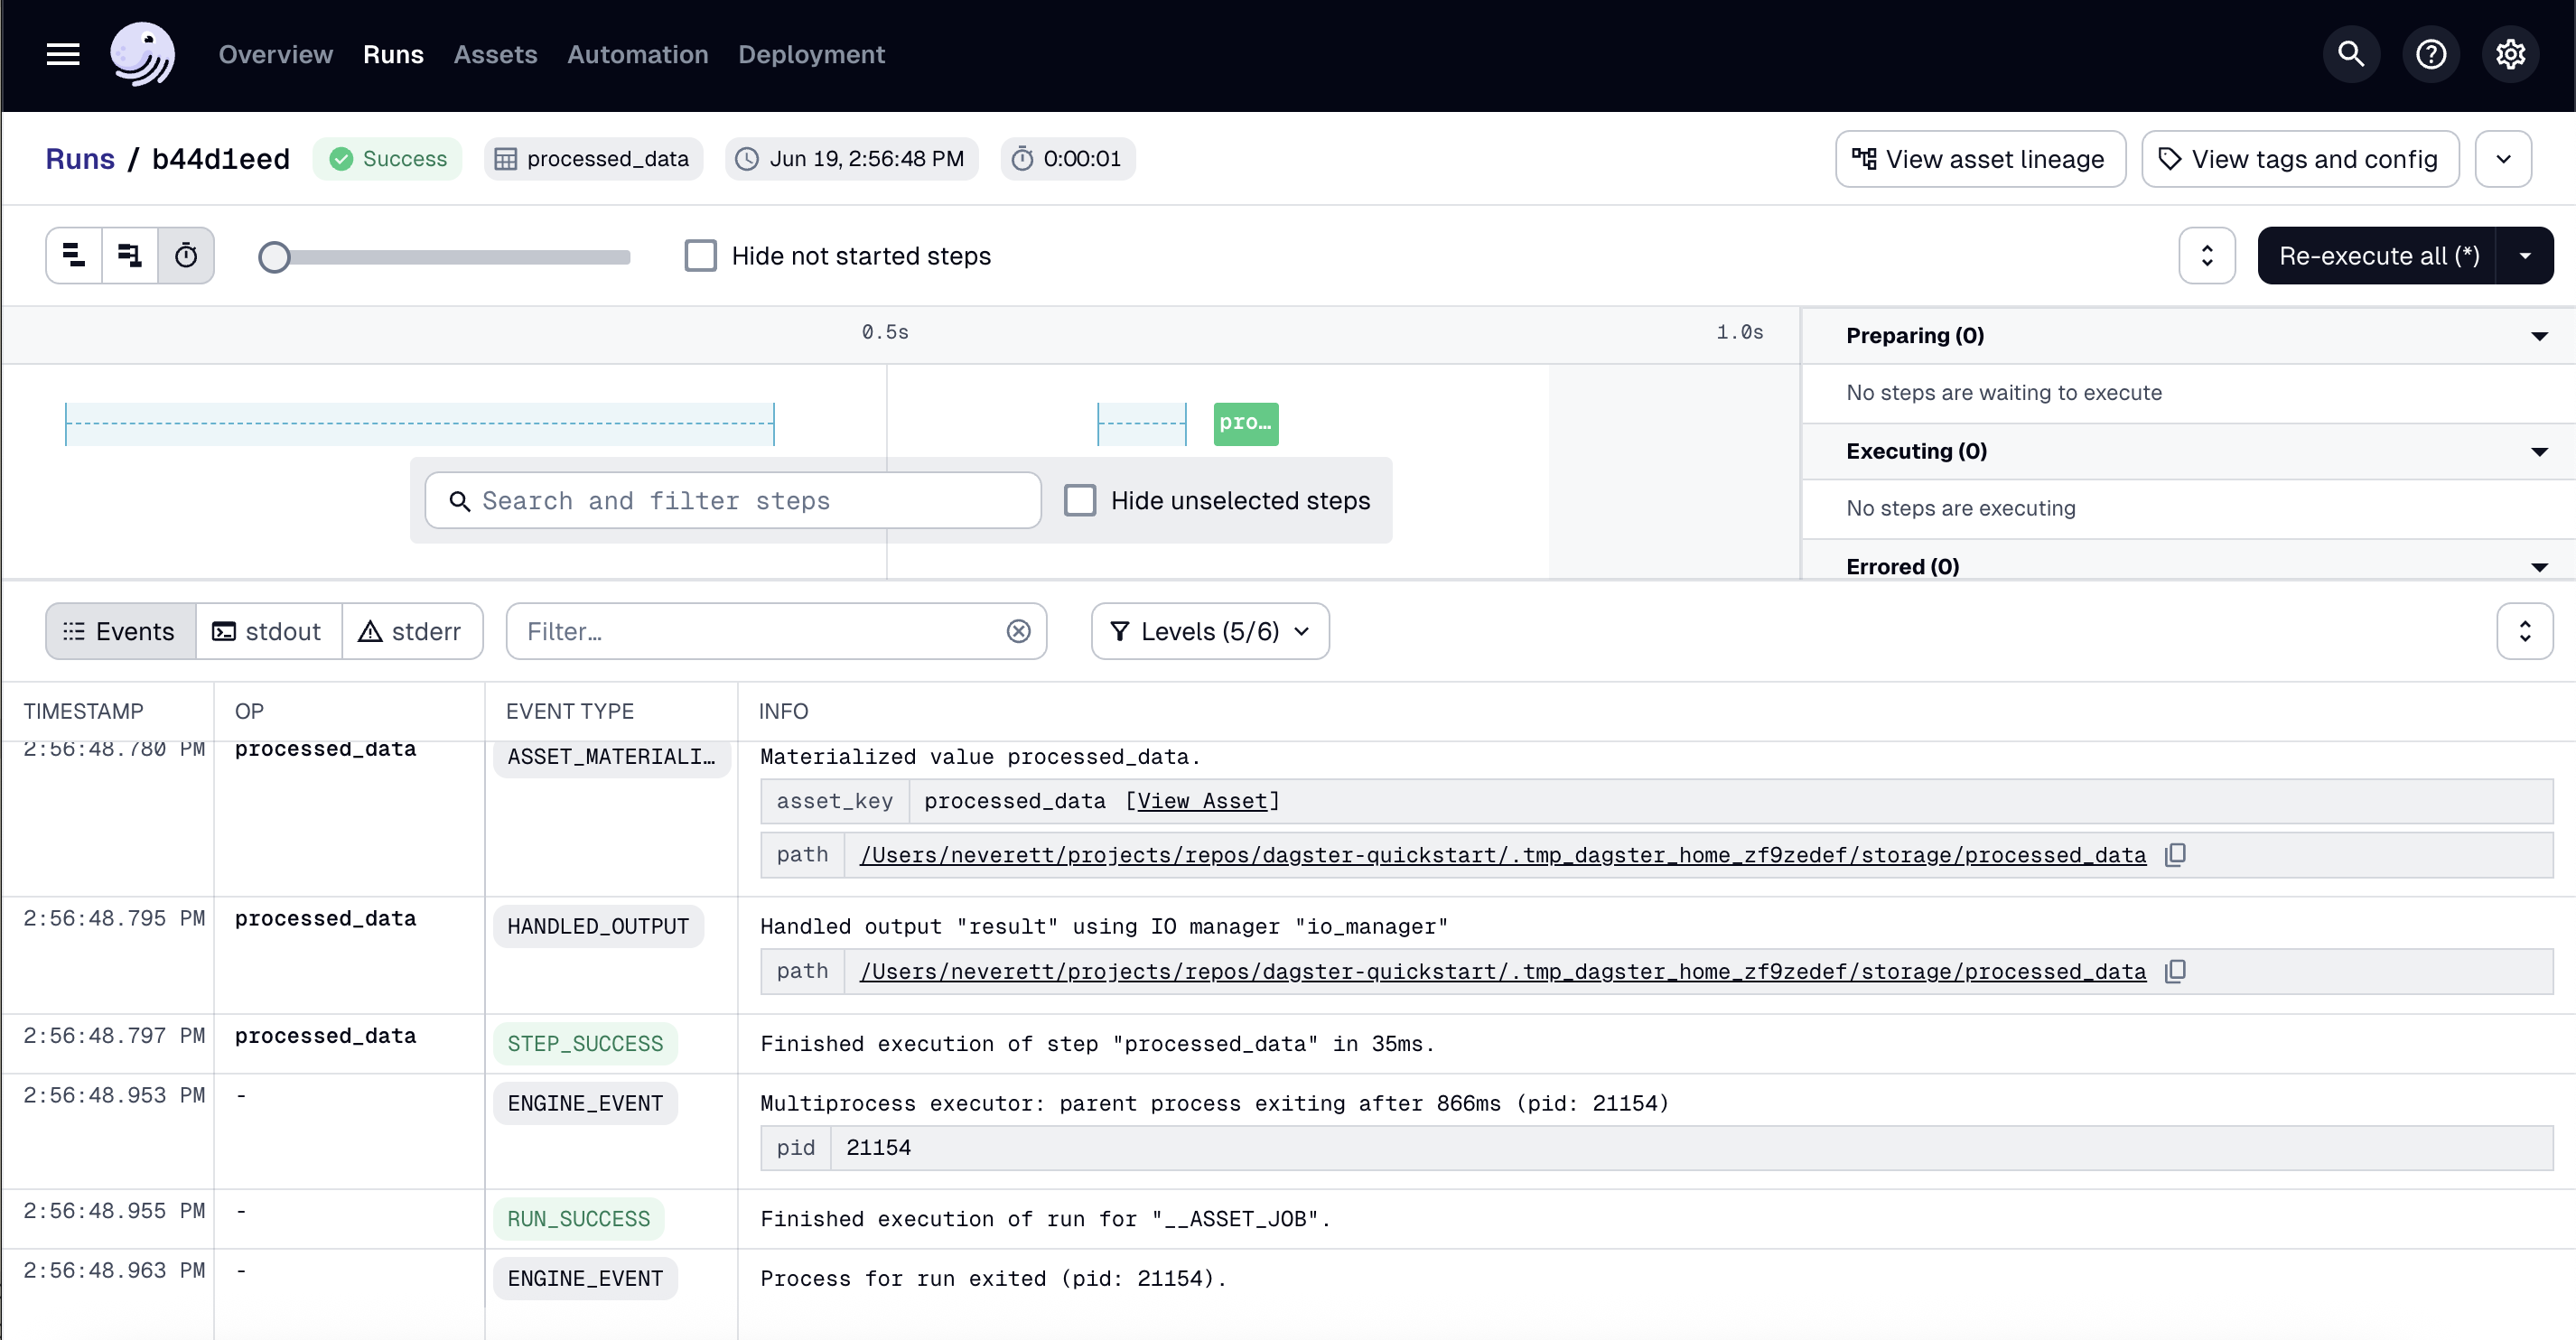
Use the view buttons in near the top left corner of the page to change how the run is displayed. You can also click the asset to view logs and metadata.
You can also run the pipeline by using the dg launch --assets command and passing an asset selection:
dg launch --assets "*"
Step 6: Verify the results
In your terminal, run:
cat src/dagster_quickstart/defs/data/processed_data.csv
You should see the transformed data, including the new age_group column:
id,name,age,city,age_group
1,Alice,28,New York,Young
2,Bob,35,San Francisco,Middle
3,Charlie,42,Chicago,Senior
4,Diana,31,Los Angeles,Middle
Next steps
Congratulations! You've just built and run your first pipeline with Dagster. Next, you can:
- Continue with the ETL pipeline tutorial to learn how to build a more complex ETL pipeline
- Create your own Dagster project and add assets to it